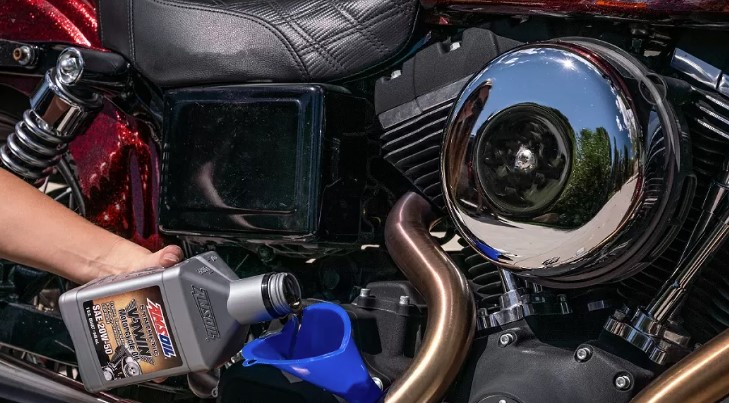
If you’re a proud owner of a Harley-Davidson motorcycle, you know that taking care of it is paramount to ensure smooth rides and longevity. One essential aspect of motorcycle maintenance is changing the oil regularly. In this comprehensive guide, we’ll walk you through the process of performing a Harley oil change, step by step. From gathering the necessary tools to completing the task, we’ve got you covered.
Why is an Oil Change Important?
Ensuring Proper Lubrication
Your Harley’s engine is a finely tuned machine with many moving parts. To keep it running smoothly, it requires proper lubrication. Engine oil serves as the lifeblood of your bike, reducing friction and preventing excessive wear and tear. Regular oil changes are crucial to maintain this vital function.
Cooling the Engine
Engine oil also plays a vital role in cooling the engine. It dissipates heat generated during combustion, preventing the engine from overheating. Overheating can lead to severe damage, making oil changes a preventative measure to ensure your Harley’s engine operates at optimal temperatures.
Extending Engine Life
By reducing friction, preventing overheating, and removing contaminants, regular oil changes significantly extend your Harley’s engine life. It’s a relatively simple task that pays substantial dividends in the long run.
What You’ll Need
Before you start your Harley oil change, gather the necessary tools and materials:
Tools:
- Oil Filter Wrench: To remove the old oil filter.
- Socket Set: For removing the drain plug and accessing the oil filter.
- Oil Drain Pan: To collect the old oil.
- Funnel: For pouring in the fresh oil.
- Oil Filter: Ensure you have the correct filter for your Harley model.
- Ratchet: For easy removal and installation of components.
Materials:
- Harley-Davidson Approved Oil: Choose the oil grade recommended for your specific model.
- Oil Plug Gasket: A new gasket is essential for preventing leaks.
- Cleaning Rags: To wipe off any spills.
- Safety Glasses and Gloves: Protect yourself from oil splatters and contaminants.
- Service Manual: Always consult your bike’s manual for model-specific instructions.
Step-by-Step Oil Change Guide
Now, let’s dive into the step-by-step process of changing your Harley’s oil:
Step 1: Preparation
- Ensure your motorcycle is on a stable and level surface.
- Start the engine and let it run for a few minutes to warm up the oil, making it easier to drain.
- Turn off the engine and let it cool down slightly to avoid burns.
Step 2: Drain the Oil
- Locate the oil drain plug, typically located on the underside of the engine.
- Place the oil drain pan beneath the plug.
- Using the socket set, carefully remove the drain plug and allow the old oil to drain completely.
- Remove and replace the oil filter using the oil filter wrench.
Step 3: Replace the Oil Filter
- Lubricate the rubber gasket on the new oil filter with a bit of fresh oil.
- Hand-tighten the new oil filter onto the filter housing. Be careful not to overtighten it.
Step 4: Install the Drain Plug
- Replace the drain plug and install a new gasket.
- Tighten it securely using the socket set.
Step 5: Add Fresh Oil
- Refer to your service manual for the recommended oil quantity and grade.
- Use a funnel to pour the fresh oil into the oil filler neck.
- Replace the oil filler cap.
Step 6: Check for Leaks
- Start the engine and let it run for a few minutes.
- Inspect for any oil leaks around the filter and drain plug.
- If you spot leaks, immediately address them.
Step 7: Dispose of Old Oil Properly
- Store the used oil in a suitable container and take it to a recycling center or an auto parts store for proper disposal.
Conclusion
Performing a Harley oil change is an essential maintenance task that ensures your motorcycle runs smoothly and lasts for years to come. By following this detailed guide, you can confidently change your Harley’s oil, keeping it in top condition.
